How To Convert an Image to a Discord Sticker
Discord stickers have become an essential part of the platform's communication, adding flair and personality to chats.
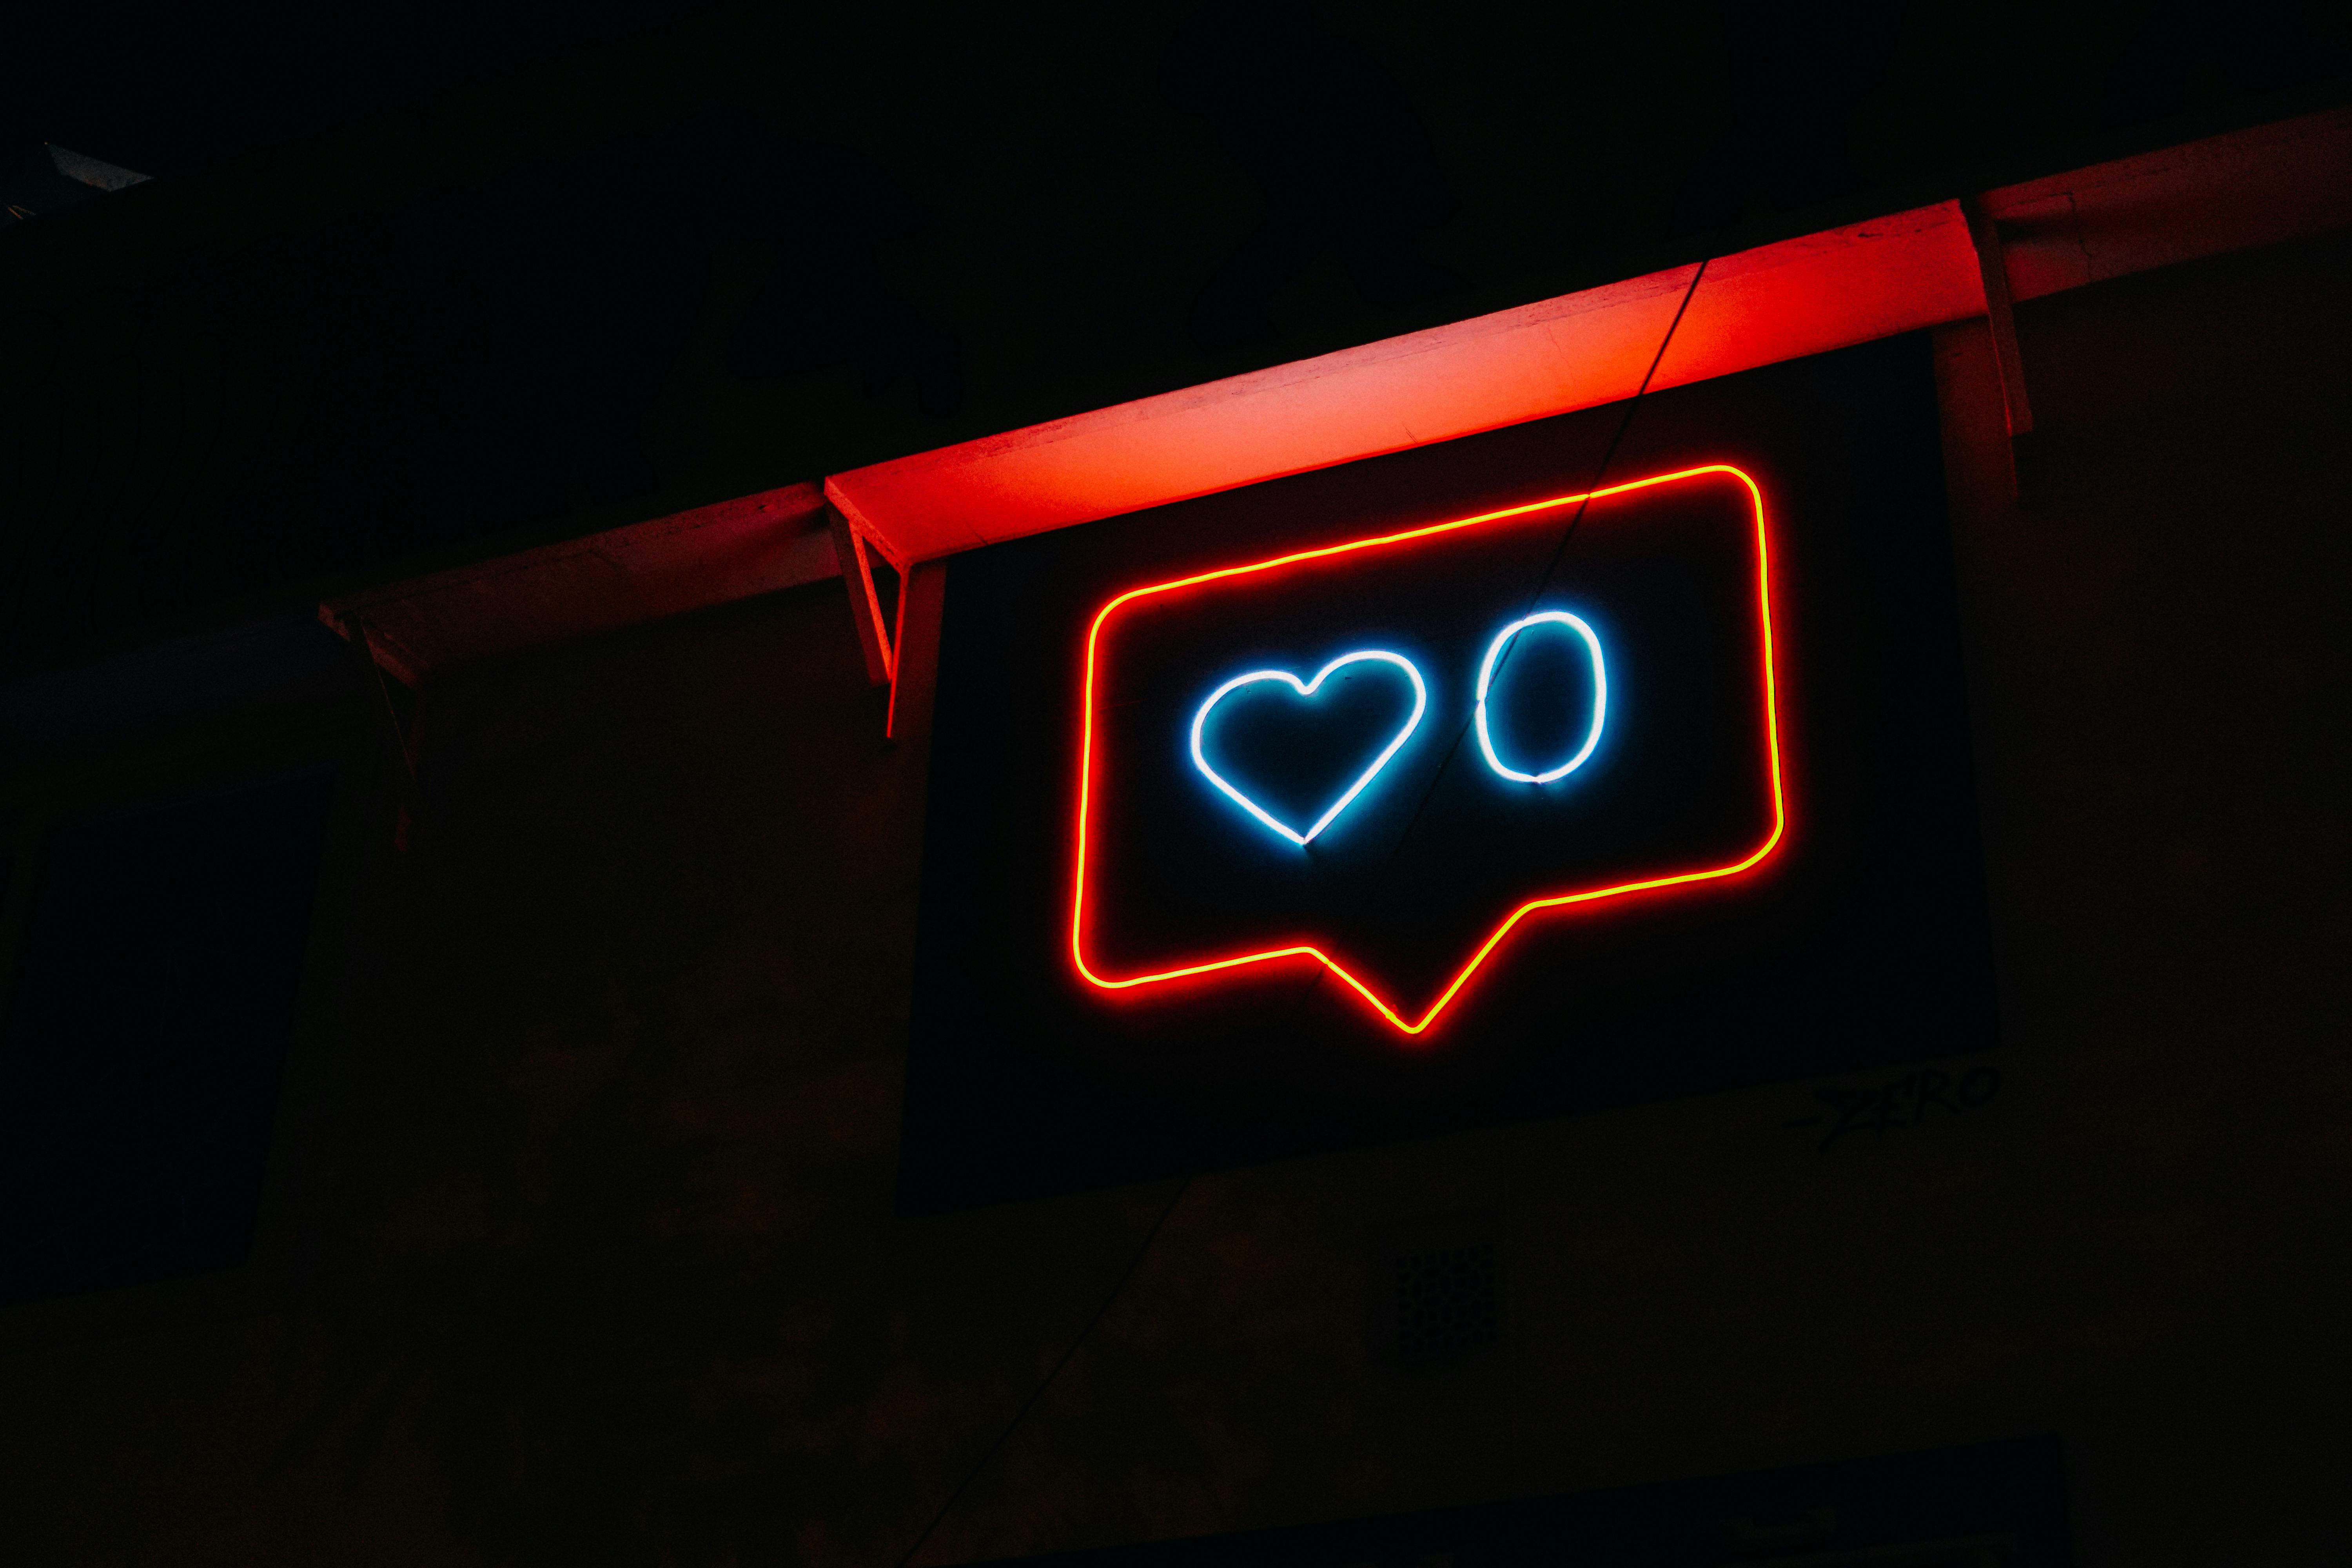
Discord stickers let users express emotions and add fun to conversations, much like emojis. They are widely used by Discord communities to create unique experiences that make communication more engaging.
As a professional, you may still be looking to brand your server which will give your page a more professional look. Or an amateur eager to have fun with friends, converting images to Discord stickers is an easy yet creative way to make your mark. But how exactly do you convert an image to a Discord sticker?
If you’ve ever asked, "How do I convert an image to a Discord sticker?" you will be getting all the answers you need right here
Today we will talk about the entire process of creating your very own Discord stickers, from the image selection to uploading it to your server.
Why You Should Use Custom Discord Stickers
Discord stickers offer a fantastic way to personalize your server and enhance your messaging. Whether you are a server admin looking to boost engagement or a user who loves making their chat unique, custom stickers give you the flexibility to inject creativity into your interactions. Custom Discord stickers can bring personality to your server and make every message feel more special.
The beauty of using custom stickers is that you can reflect your community's unique vibe, make inside jokes, or even display your own artwork. The best part? Unlike static emojis, stickers offer a larger, more flexible canvas. You can create stickers that are animated or still images, and even use them as part of your server’s branding. Custom stickers also give you a lot of creative control—no limits, except for the Discord guidelines, which we’ll cover shortly.
In addition, stickers can be used in DMs and on servers that support them, adding to the richness of the platform. Users can create their own stickers to enhance the experience, which is a powerful tool for both professional creators and casual Discord fans alike.
Discord Sticker Size and Format Requirements
Before you start converting an image to a Discord sticker, it’s crucial to understand the technical requirements set by Discord. Stickers have specific size and format restrictions that must be adhered to in order to ensure they display correctly.
Size
Discord stickers must be 320x320 pixels. This ensures that they fit well within the chat interface without distortion. If your image exceeds this size, you’ll need to resize it before uploading. On the flip side, stickers should also not be too small, as a very tiny image won’t look good when viewed at larger sizes.
Format
The PNG and APNG (animated PNG) formats are the primary file formats Discord accepts for stickers. PNG is ideal for static images, while APNG is perfect for animated stickers. However, you’ll need to ensure that the file size does not exceed Discord’s maximum limit, which is 256 KB for each sticker. It’s worth noting that GIFs, while commonly used for animations, cannot be used as Discord stickers unless converted to APNG format.
Understanding these requirements will make sure that your sticker not only looks great but functions properly across all devices. Next, we’ll dive deeper into the tools and methods needed to create and convert images to Discord stickers.
Tools for Creating Discord Stickers
When you decide to convert an image to a Discord sticker, having the right tools at your disposal is essential. Fortunately, there are several online tools that make this process straightforward, even for beginners. Here are some of the best tools you can use:
-
Kapwing
Kapwing is an online video and image editing tool that allows you to create and resize images to meet Discord’s sticker requirements. It's simple to use, making it perfect for both professionals and amateurs. You can upload your image, resize it, convert it into the right format, and even add text or effects to make your sticker stand out. -
ezgif.com
For creating animated stickers, ezgif.com is a great tool. It lets you convert GIFs into APNGs, which is Discord's preferred format for animated stickers. It also includes various options to resize and crop your GIFs to meet the sticker size requirements. -
Canva
Canva offers a free version that allows you to create custom designs from scratch. You can easily adjust your image size, add elements like text or illustrations, and export the design in PNG format. If you’re looking to design a sticker that’s unique to your community, Canva is an excellent option.
These tools provide all the features you need to create a sticker-ready image without the hassle of complex editing software. Whether you are making static or animated stickers, these options make it easy for you to convert your ideas into reality.
Step-by-Step Guide to Creating a Discord Sticker
Now that we’ve covered the basics and tools, it’s time to dive into the detailed steps on how to convert an image to a Discord sticker. Don’t worry, it’s a simple process that you can follow with ease. Here's how you can create your own custom sticker:
1. Choose Your Image
The first step is to select an image that you want to turn into a sticker. It can be anything from a photo, artwork, meme, or even an existing emoji that you’ve designed yourself. The key is to pick an image that is clear, high-quality, and interesting—after all, stickers are a fun way to express yourself in conversations.
If you're creating an animated sticker, you’ll want to use a GIF. Make sure the GIF is visually appealing and communicates the emotion or action you want to convey.
2. Resize the Image
Discord has strict size requirements for stickers, so once you've selected your image, the next step is resizing it to the correct dimensions of 320x320 pixels. If you are using an online tool like Kapwing or Canva, they will give you the option to resize your image easily.
If your image is already close to the required dimensions, great! However, if it's larger or smaller, you'll need to crop it to the right size. Keep in mind that you should also maintain the image’s aspect ratio to avoid distortion. It’s always a good idea to test the resized image in a preview tool to make sure it looks great before proceeding.
3. Convert the Image to the Correct Format
Once the image is resized, it’s time to convert it into a format Discord can accept. As we discussed earlier, Discord only accepts PNG for static stickers and APNG for animated ones. If you started with a GIF or another image format, you will need to convert it to PNG or APNG.
To convert the image, you can use tools like ezgif.com for GIF-to-APNG conversion. For PNG, simply ensure your image is saved in PNG format when you export it. Additionally, check that the file size is under 256 KB. If it's larger, you might need to compress the image using an online compressor.
4. Upload the Sticker to Discord
Once you’ve created and converted the image into the appropriate format, it’s time to upload your sticker to your Discord server.
- Open Discord and go to the server where you want to upload the sticker.
- Click the down arrow next to the server name to open the server settings.
- In the left sidebar, click "Stickers".
- Click "Upload Sticker" and select the PNG or APNG file you just created.
- Give your sticker a name—this will be how others will refer to the sticker when typing in the chat.
- Click "Save".
Once your sticker is uploaded, you and others can use it in your server chats!
How to Convert a GIF to a Discord Sticker
GIFs are a fun way to add animation to your Discord stickers, but they need to be converted to the APNG format before they can be uploaded. Here’s how you can do it:
-
Choose Your GIF: Find the GIF you want to use. Whether it’s a funny moment, reaction, or something custom, ensure it’s of high quality and fits within the 320x320 pixel requirement.
-
Use ezgif.com: Go to ezgif.com and upload your GIF. This site will help you resize and convert your GIF into an APNG file, which is the format Discord supports for animated stickers.
-
Resize if Necessary: If your GIF is larger than 320x320 pixels, resize it to the correct dimensions using the tools on ezgif.com.
-
Convert to APNG: Once resized, the tool will offer an option to convert the GIF to APNG. This conversion is key because Discord does not support animated GIFs as stickers. After conversion, download the APNG file.
-
Upload to Discord: Follow the same steps mentioned in the previous section to upload your APNG sticker to Discord.
Conclusion
Converting an image to a Discord sticker is a fun and creative way to enhance your server and express yourself.
By following the steps outlined above and adhering to the size and format requirements, you’ll be able to make stickers that stand out and engage your community. Don’t forget to experiment with different designs and animations to keep things fresh.
I encourage you to give it a try—after all, there’s no better way to bring some fun and originality to your chats!
.jpg)